![September Fog [001] by Per Granaune](http://lightquarry.com/wp-content/gallery/nature/September_Fog_by_Per_Granaune.jpg "September Fog [001] by Per Granaune")
Year: 2013
Updates 08.12.2013
Updates
Added Gunnar Bye to the list of other photographers.
![December [002] II by Per Granaune](http://lightquarry.com/wp-content/gallery/people-and-places/cache/December_II_by_Per_Granaune.jpg-nggid03206-ngg0dyn-150x150x100-00f0w010c010r110f110r010t010.jpg "December [002] II by Per Granaune")
Added a new picture December II to the gallery People and Places.
![December [002] II by Per Granaune](http://lightquarry.com/wp-content/gallery/people-and-places/December_II_by_Per_Granaune.jpg "December [002] II by Per Granaune")
Updates 07.12.2013
Updates
Added a new picture Islets to the gallery Nature.


Added a new picture Pedestrian to the gallery People and Places.

Updates 06.12.2013
Updates
Twitter account added.
Updates 02.12.2013
Updates
Added Ronny Kjelland to the list of other photographers.
Added Foto.no to the list of other sites.
Added dpreview.com to the list of other sites.
![December [001] by Per Granaune](http://lightquarry.com/wp-content/gallery/people-and-places/cache/December_by_Per_Granaune.jpg-nggid03203-ngg0dyn-150x150x100-00f0w010c010r110f110r010t010.jpg "December [001] by Per Granaune")
Added Foto.no to the list of other sites.
Added dpreview.com to the list of other sites.
Added pictures from the vernissage to the post about Narvikmønstringen.
Added a new picture December to the gallery People and Places.
![December [001] by Per Granaune](http://lightquarry.com/wp-content/gallery/people-and-places/December_by_Per_Granaune.jpg "December [001] by Per Granaune")
Narvikmønstringen 2013
Exhibitions
“The Narvik Mustering”.

01.12.2013 – 08.12.2013
This exhibition is a yearly occurence in Narvik, Norway, where local artists display their works.

Poster by Svetlana Johansen
The exhibition is held between December 1st and December 8th 2013, with the opening vernissage held at 15:00, Sunday 1st.
The location is Galleri Ofoten (The Ofoten Gallery), in the middle of Narvik.
Open hours are 12:00 – 15:00 and 18:00 – 20:00 Mon-Thu, and 12:00 – 15:00 Fri-Sun.
More information in Norwegian here: Narvik Kulturhus
and here: Narvik Kunstforening
A total of 29 artists take part this year,
and I’m displaying 4 of my works: Electrotouch I-III plus Drop.
![Electrotouch [001] I by Per Granaune](http://lightquarry.com/wp-content/gallery/abstracts/Electrotouch_I_by_Per_Granaune.jpg "Electrotouch [001] I by Per Granaune")
|
![Electrotouch [002] II by Per Granaune](http://lightquarry.com/wp-content/gallery/abstracts/Electrotouch_II_by_Per_Granaune.jpg "Electrotouch [002] II by Per Granaune")
|
![Electrotouch [003] III by Per Granaune](http://lightquarry.com/wp-content/gallery/abstracts/Electrotouch_III_by_Per_Granaune.jpg "Electrotouch [003] III by Per Granaune")
|
| Electrotouch I | Electrotouch II | Electrotouch III |

|
||
| Drop |


Tripods
Philosophy
If I want to sum up the most important consideration when purchasing a tripod, using only two words, it comes out like this:
 Really. No matter how good your tripod is, if the attachment between camera and tripod is not reliable, the camera will sooner or later come loose – at the most inappropriate moment.
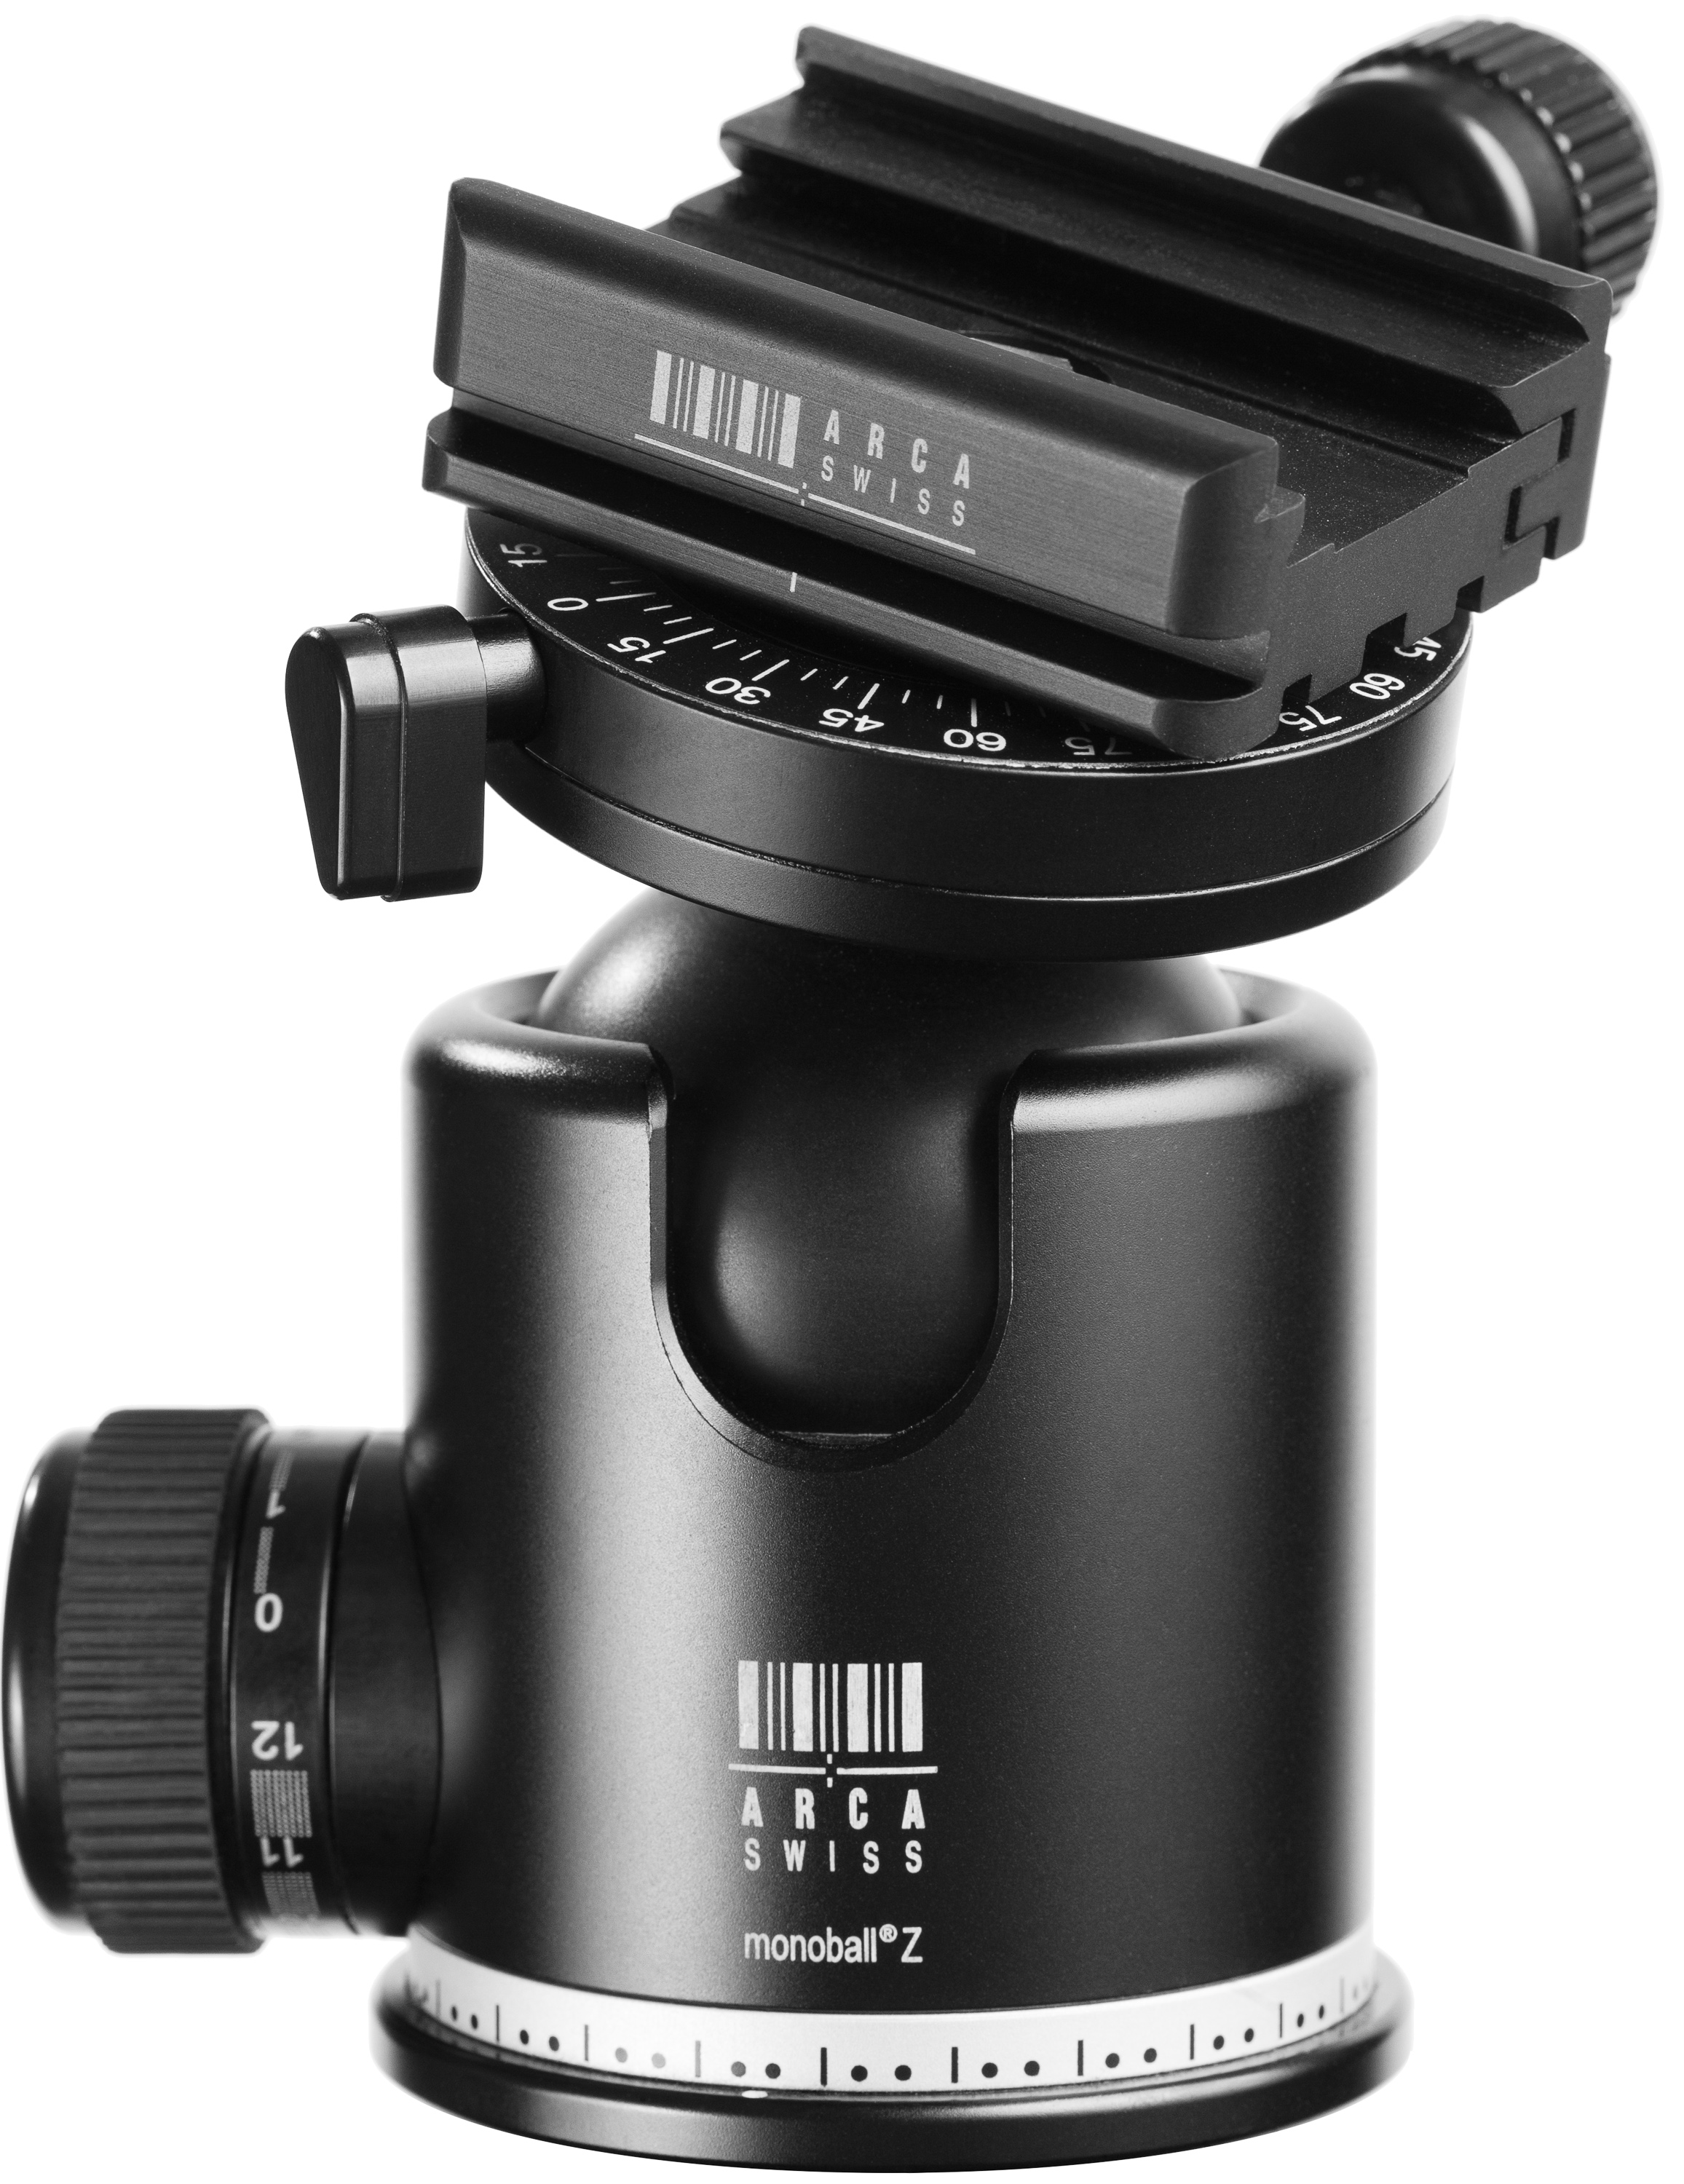
“Arca-Swiss Monoball Z1 dp (Double Pan) tripod head” by Charles Lanteigne is licensed under CC BY-SA 3.0
The Arca-Swiss system is sturdy, reliable and quick, and makes sure that when you put your camera on that tripod, it stays there.
It’s way too common to put a $1500 camera on a $50 tripod – that thing being all that keeps your camera from falling to the ground. Let’s not forget that $1000 lens mounted to that camera. It’s no great fan of gravity either.
A lot of these cheap and cheerful tripods have this in common:
- They are in fact video tripods – that’s why they have a panning arm, which frankly is of little use to a photographer.
- They have an alarming amount of plastic used in key areas.
- The tripod is so flimsy that the legs have to be connected to the center column, making it useless on anything but level ground.
- The head of the tripod is plastic, can’t be replaced, and clamps down another piece of plastic attached to the tripod mount of the camera.
- The aforementioned plastic attached to the camera will often start to twist itself loose, especially if the camera is tilted to the side for a portrait shot.
- It is difficult to adjust the positioning of the camera correctly, because everything just sags. All those plastic parts make up for an exceptional amount of play, making it a borderline nightmare to quickly compose the shot.
Don’t buy a big, bad tripod. Buy a small, good one.
There is no use for a tripod that you never take with you because it’s just too big and cumbersome.
Buy a compact tripod that still is big enough to raise the camera to eye level when fully extended. These tripods will often fold down to a length comparable to the height of a mid-size backpack, and therefore lends itself well to being attached to such a backpack.
A good reference point would be a compact tripod from Benro, which may appear to be just another cheap chinese knock-off of more expensive brands, but in reality offer reasonable quality for reasonable prices. A tripod like the Benro Travel Angel II, is a reasonable compromise between sturdiness and portability. The legs are independent, there is a center column which allows for quick height adjustment, it comes with an Arca-Swiss style ball head, and an Arca-Swiss style metal plate to attach to the camera.
Take a look around – there are countless manufacturers of quality tripods, like Benro, Gitzo, Manfrotto, etc.
The next step towards pure bliss is to replace the simple metal plate screwed into the camera, with an L-plate. Specialists like Really Right Stuff have L plates matching most cameras, and by using such a camera specific plate, you get something that’s 100% form fitting and never falls off.
Using an L-plate, switching between landscape and portrait shooting is just a matter of releasing the camera, turning it 90 degrees and fastening it again. Hassle-free without any risk of the camera twisting off the head and falling to the ground. The camera stays in more or less the same position above the tripod.
A bigger tripod is useful for big, heavy lenses, but such a small-to-medium sized tripod will work well up to e.g. a 200 mm lens. If it’s windy, hang something heavy from the hook attached to the center column – like a backpack. Weighed down, the small tripod will rival a bigger one in sturdiness.
And don’t forget to always use the tripod mount of a lens whenever it has one – mounting a lens big enough to have it’s own tripod collar means that it’s the foot of the lens and not the camera that needs to be mounted to the tripod. In such cases the camera acts as a counter-balance for the bigger lens, and mounting the camera itself to the tripod gives a very unstable system susceptible to very unsharp images. Manufacturers like Really Right Stuff have Arca-Swiss plates for various lenses, and you may even replace the entire foot of some lenses with a new all-in-one Arca-Swiss type.
To top it off – there is an endless amount of equipment that can be bolted onto other Arca-Swiss equipment. When using an L-plate, you will always have one “free” side, onto which you can attach a bracket for flashes, etc.
Photographing in Skrova
Travelogue
8 members of Narvik Kameraklubb (the local photo club in Narvik) went on a weekend trip to Skrova in late October 2013.
A reportage written in Norwegian can be found here.
The island of Skrova is located at 68.1673°N 14.6606°E, and the best way to get there is by driving to the town of Svolvær, and taking a 30 minute ferry ride.
The population of 200+ is concentrated on the west side of the island, and this is where the roads are located. There are a few km of drivable roads – enough to make it convenient to bring the car over on the ferry.
We stayed at “Skrova Rorbuer“.

Arriving late Friday, we didn’t do much in the way of photography before Saturday morning. Being mostly overcast, magic light was not in abundance.
![]()
I spent most of Saturday experimenting and getting a feel of the place.


Skrova is probably one of the few places that exhibit photographs in a tunnel. A very good exhibition titled “Tunnelsyn” (Tunnel Vision) with historical photographs from the island. Back in the day, Skrova used to be filled with several thousand fishermen during the fishing season.

Sunday started out as another gray day, but it changed into clear blue sky with sparse clouds. All together more inspiring with ample supply of light and shadow.


Even if the weather by no means was very harsh during our stay, this is undoubtedly a very windy place. The month of October brings temperatures close to freezing, and the more or less constant wind makes wind and water resistant clothing a must. The highest points on the island may not be suitable for the act of standing up, much less taking pictures with tripods – even without being close to anything resembling a storm.
All in all an enjoyable, if somewhat cold experience.
Viewing distance
Philosophy
When viewing a picture, we normally don’t put our noses right up to it, and study it intent on exposing every possible flaw.
We look at it at a distance. This distance will increase with the size of the picture, and will typically be 1,5 times the diagonal.
Because of this, there really is no practical limit to how big a picture can be reproduced.
This is why it’s at all possible to have enormous posters filling the entire side of buildings. You don’t look at them at point blank range.
The resolution of the picture will be sufficient whenever it’s impossible for the human eye to distinguish individual pixels.
Any picture that is printed with at least 180 ppi resolution will be viewable at a distance of 0,5 meters without the individual pixels being discernible.
This means you can hold a picture measuring 75 x 50 cm in front of you, and as long as the resolution is approx. 5300 x 3500 pixels (18.55 Mpx) you can’t see any individual pixels at this range. When viewing this picture at the more normal distance of 135 cm, the resolution could in fact be as low as 65 ppi (2.5 Mpx) without any individual pixels standing out to the naked eye.
Keep the printouts at 180 ppi or better, and they can be studied at arms length without any pixels standing out.
Remember that there is a difference between the printers resolution in dpi (dots per inch) and the resulting resolution of the picture in ppi (pixels per inch).
A modern printer typically has a resolution of 1200-2800 dpi or more, which is used to make the raster required to mix all the colors needed from maybe less than a dozen different ink cartridges.
The useful maximum resolution of the printout can be found by dividing the dpi of the printer by 2.5, which means that a printer with 1200 dpi can create a printout at 480 ppi, and THAT can be scrutinized as close as 18 cm without showing any pixels.